Having an exclusive scanner is of course useful if you have a large number of documents to scan. But if you are on the go and need to scan a couple of documents urgently, you can definitely trust your phone to give you good results. Technology that is advancing by the hour has made the same possible through various applications depending on the smartphone in use.
Scanning Documents Using Your iPhone
To use your iphone for scanning, you will first have to make sure that your phone is updated to iOS11. It has added new features to NOTES which is the in- built application that will help you scan documents using your iPhone. Following are the steps that will help you in the scanning process:
- Click to open Notes.
- To create a new note, click on the square with a pencil in it.
- On the menu bar above your keyboard, tap the circle with the +.
- Now, on the scroll up menu that appears select scan documents.
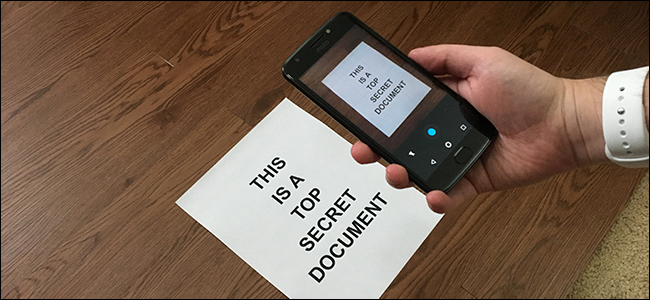
- Fill your phone’s screen with the image of the document you want to scan. You can manually focus and capture the image of your document by clicking on the shutter button or let notes do it automatically.
- You will now see the preview and notes will give you the options to either keep scan or retake.
- Once you are done scanning all pages, you can see a list of your documents in Notes. And if any corrections are needed, you just need to tap the image of the page to be edited and a menu with editing options will appear.
- To automatically save your edited scanned document, tap on done.
- Tap the Upload icon to save the scan as a PDF.
- Next tap on Create PDF.
- Click on Done.
- Finally, Select where you want to save your PDF file, then Tap Add. Your PDF is saved to your desired location and is ready to be sent out.
The only drawback with notes is that it gives you only limited options to edit your document. If you are looking a more advanced application, the recommended one for iOS users is ScannerPro but which unfortunately is a paid application.
Scanning Documents Using Your Android Phone
When it comes to android phones, you will need Google Drive to be installed in your phone to scan documents. Following are the steps that will help you in the scanning process:
- Tap on the Google Drive icon to open.
- The scanning mode automatically opens using your phone’s camera. If this does not happen, tap on the camera icon when you are ready to scan.
- Automatically, the scanner will focus and capture the page after you have positioned the camera over the document.
- In case of multiple pages, continue switching the page and they will get captured automatically.
- Once you are done scanning all the pages, tap on the thumbnail image at the lower right corner of your screen.
- You will now be able to preview your document and any editing can be done if required.
- Finally, tap on save PDF. This will save your document to the adobe scan cloud immediately. However, if you want the document to be saved on your device, go to the application’s settings and set your preference to “save scan to device” under photos (iphone) or gallery (android).
Conclusion
Apart from all these, there are many more scanner applications like Tiny Scanner, Genius Scan, TurboScan and CamScanner. But the ones mentioned above cover all the basic requirements for scanning. So, the next time you need to scan a document, there is no need to hunt for a cliché “SCANNER”! Your phone will definitely deliver reliable quality scans. Thanks to these applications and programs, we will move one step closer to going paperless.